
KYOCERA SGS Precision Tools Group
Choosing the right Mold Parts begins with the part, process, and production target—not the cheapest line in a catalog. A cavity insert that looks suitable on a drawing may wear quickly under abrasive resin. A poorly matched ejector pin can leave marks or complicate release. Small details matter.
The scale of the market helps explain why these decisions deserve attention. Grand View Research estimated the global injection molding market at USD 284.7 billion in 2023 and forecast a 4.8% compound annual growth rate from 2024 to 2030. This is useful context, not proof that any single component will suit your project. John Beaumont, an injection-molding engineer and author, is often quoted: “The mold is the heart of the injection molding process.” Component choices shape how reliably that heart performs.
Before selecting Mold Parts, compare resin type, expected shot volume, operating temperature, pressure, and maintenance access. Check material hardness, surface finish, dimensional tolerances, and compatibility with the mold base. Ask suppliers for drawings, inspection records, and clear specifications. A polished surface may help release, but it cannot fix poor venting or an unsuitable design.
There is no universal best part. A tool running a few prototypes may not need the same steel or coating as a high-volume production mold. Even experienced teams can misjudge wear. Review failures and revise the specification. That extra check can prevent costly changes after the mold is built.
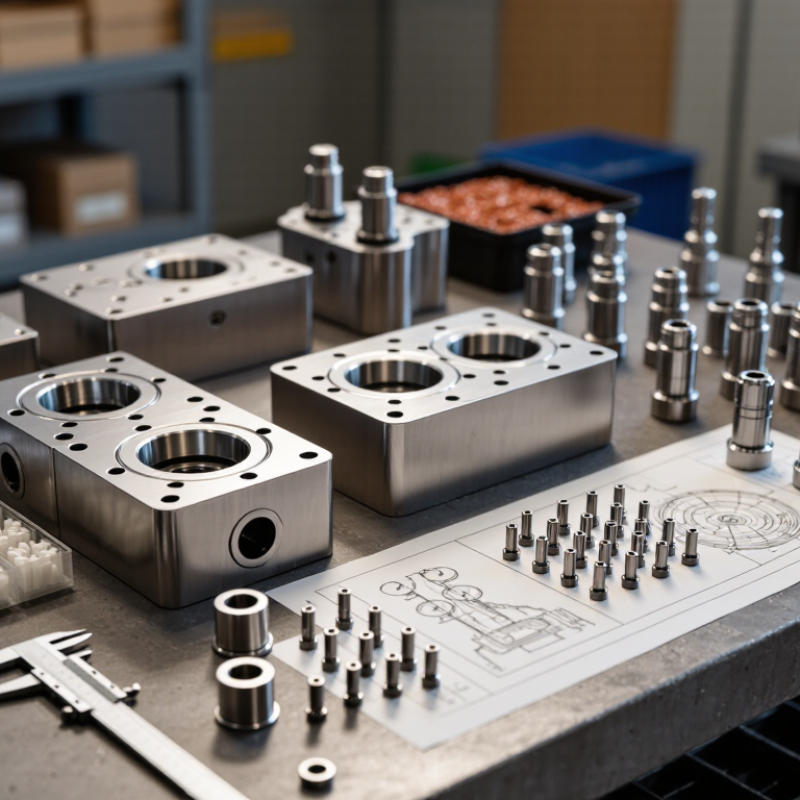
Before selecting mold parts, define what the project must produce and how consistently. Record the resin, target part dimensions, critical tolerances, expected annual volume, and planned cycle time. These details shape choices such as cavity count, cooling layout, ejector type, and wear-resistant materials. Small details matter.
A short production run may favor simpler components that are easy to adjust. High-volume work calls for parts that tolerate repeated heat, pressure, and motion with predictable maintenance intervals. For example, a glass-filled resin can increase wear around gates and runners, while a thin wall may require careful cooling to limit warpage. I have seen teams focus on the mold’s purchase cost and overlook downtime; that trade-off deserves a second look. It is easy to miss. Ask the mold designer to review the part drawing, resin data, and machine limits together. Then confirm assumptions with a mold-flow study or trial plan where appropriate. If requirements are still changing, avoid locking in complex custom features too early. A little uncertainty remains. Capture it in the specification, rather than letting it become an expensive surprise during production.
| Project Requirement | Information to Define | Mold Parts to Evaluate | Production Goal and Selection Considerations |
|---|---|---|---|
| Annual production volume | Expected part quantity, order frequency, and planned service life of the mold | Mold base, cavity and core inserts, guide pins and bushings | For high-volume production, evaluate wear resistance, replaceable inserts, and maintenance access. For short runs, avoid unnecessary complexity while meeting the required tool life. |
| Resin and material properties | Resin type, processing temperature, shrinkage, and whether the material contains abrasive or corrosive additives | Cavity and core materials, gate components, hot-runner components, and corrosion-resistant surfaces | Glass-filled resins can increase abrasive wear, while some resins or additives can require corrosion-resistant materials. Confirm compatibility with the resin supplier and molding conditions. |
| Part geometry and undercuts | Parting line, wall thickness, ribs, bosses, side actions, and required draft | Slides, lifters, core pins, inserts, and ejector components | Choose mechanisms that release the part reliably without damaging features. Check available space, motion sequence, and access for inspection and repair. |
| Dimensional requirements | Critical dimensions, tolerances, fit requirements, and measurement method | Cavity and core inserts, leader systems, locating features, and shutoff surfaces | Identify critical-to-quality dimensions early. Tolerances should account for resin shrinkage, process variation, mold temperature, and measurement conditions. |
| Cycle-time target | Required output rate, cooling time, and expected operating schedule | Cooling channels, baffles, bubblers, hot-runner components, and ejector systems | Evaluate balanced cooling and consistent ejection. Shorter cycles should be validated through mold-flow analysis or production trials rather than assumed from component selection alone. |
| Surface finish and appearance | Required texture, gloss level, visible surfaces, and allowable gate or ejector marks | Cavity and core surfaces, texture inserts, gates, and ejector pins | Specify surface finish by area and function. Align polishing or texturing requirements with the part design and the chosen resin. |
| Part release and ejection | Part shape, shrink direction, ejection area, and risk of deformation | Ejector pins, sleeves, blades, stripper plates, and return components | Distribute ejection force across suitable areas and avoid placing ejectors on delicate or appearance-critical features where possible. |
| Machine compatibility | Available machine size, clamp force, platen layout, tie-bar spacing, and injection capacity | Mold base, locating ring, sprue bushing, support pillars, and mold connections | Confirm mold dimensions and interfaces against the intended machine before ordering parts. Verify that the mold can be installed, connected, and operated safely. |
| Maintenance and downtime | Maintenance interval, available service skills, spare-parts strategy, and acceptable downtime | Replaceable wear plates, inserts, guide components, seals, and standard spare parts | Favor accessible, replaceable components for frequently serviced areas. Document part numbers, material specifications, and maintenance intervals for repeatable upkeep. |
| Budget and delivery schedule | Tooling budget, project milestones, validation needs, and acceptable lead time | Standard mold components, custom inserts, slides, and hot-runner systems | Balance initial cost against expected production volume, service life, and repair needs. Confirm component availability and manufacturing lead times before finalizing the design. |
